Our paper: kShield: An eBPF Runtime Defense Framework for Linux Kernel Privilege Escalation Attacks
1-func-test: Validating the effectiveness of kShield's defense mechanisms2-performance-test: Measuring the overhead introduced by kShield on the host system using benchmark tests3-source-code: Implementation details
This guide outlines the procedures for both functional and performance testing of kShield.
For functional test:
- qemu 7.0.0
- open-ssh
For quickstart and performance test:
- Kernel debug symbol (
vmlinux-$(uname -r)) under/bootdirectory - Kernel Headers (under
/lib/modulesdirectory) - BTF type information
- python 3.9+
- Phoenix-Test-Suite 10.8.5
- Lmbench3
Try kShield with the command below:
docker run --name kshield -it --rm \
	--pid=host --cgroupns=host --privileged \
	-v /lib/modules/$(uname -r)/build:/lib/modules/$(uname -r)/build \
	-v /sys/kernel/tracing:/sys/kernel/tracing \
	-v /boot:/boot \
boying4324/kshield:latest [Arguments]| Argument | Usage |
|---|---|
--help |
Print the help list |
-e[NUM] |
specify enabled events (NUM = 0,1,2,3,4) |
-a |
trace all 5 events |
Install dependencies
apt-get update && apt-get install -y --no-install-recommends \
      clang \
      libelf1 \
      libelf-dev \
      zlib1g-dev \
      binutils \
      make \
      llvm \
      build-essential \
Enter the source code directory
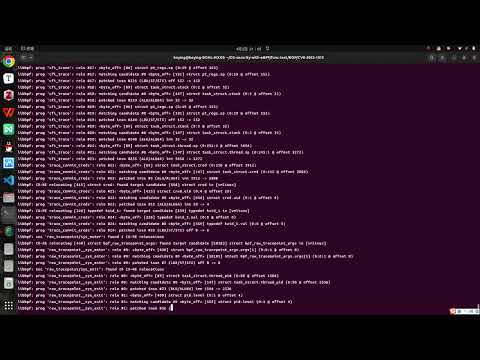
cd ./kShield/3-source-code/v0.01/src/libbpf-bootstrap/Compile
make all We collected vulnerabilities and their exploit existing in real systems from GitHub and CVE platform to evaluate the effectiveness of kShield. The used exploits are listed here.
For each exploit listed in the table, we:
- Reproduced the collected exploits to verify their functionality. Testing confirmed that all 19 exploits mentioned in this paper can successfully trigger the vulnerabilities, carry out attacks, and escalate privileges from a regular user to ROOT.
- Deployed kShield in the functional testing environment, and then launched the attacks using the aforementioned exploits. Testing demonstrated that kShield successfully mitigated all attacks.
To begin with, download the root file system for functional testing from this link, and place it in the ./1-func-test/Launch-Func-Test/ directory.
To perform an provided functional test, first start the test VM:
# Enter the test directory
cd ./1-func-test/Launch-Func-Test/{The_exp_category,e.g.DIRTYCRED}/{CVE_ID}

# Run the test
./start.sh
Next, the virtual machine for functional testing will start running. Log in with the username boying and password 1. The kShield executable can be found at /home/boying/kprobe. Run ./kprobe --help to view detailed usage instructions. The collected test exploits are located in the ./exp directory.
To facilitate the process, you can open two terminal windows and use SSH to connect to the target virtual machine with the following commands:
# enable VM network(in VM)
sudo ./enable_net.sh

# connect to the VM from the host via ssh
ssh -p 10021 boying@127.0.0.1
Once connected, perform the following tests in the two separate terminal windows.
Test 1:
Run the exploit directly and observe whether privilege escalation is successfully achieved. This test verifies the effectiveness of the exploit before deploying kShield.
Example:
# Enter the exploit directory
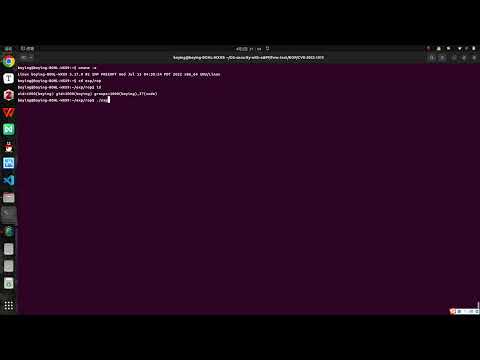
cd ./exp/rop/CVE-2022-1015
# directly run the exploit
./exploit-2022-1015Video Demo:
Test 2:
After deploying kShield, run the exploit again and observe whether privilege escalation is successfully mitigated. This test evaluates the effectiveness of kShield in protecting against the targeted vulnerability exploit.
Example:
# Deploy kshield
sudo ./kprobe -e{event_num}

# Enter the exploit directory
cd ./exp/rop/CVE-2022-1015

# run the exploit
./exploit-2022-1015
Video Demo:
The provided testcases include:

We have recorded a comparison video showing the system before and after kShield deployment. Please refer to this link.
The performance tests are conducted on the host machine, aiming to evaluate the additional overhead introduced by kShield. The tests consist of two parts: micro-benchmarking and macro-benchmarking.
(1) Install phoronix-test-suite and lmbench-3.0-a9
(2) Place the two folders (i.e. phoronix-test-suite and lmbench-3.0-a9) at ./2-performance-test/
(3) Start the performance test with scripts
# swith to CPU performance mode
echo performance | sudo tee /sys/devices/system/cpu/cpu*/cpufreq/scaling_governor

# Enter the test directory
cd ./2-performance-test

# start the test
./evaluation.sh
Figure of Test Results:
Macro-benchmark

Micro-benchmark
