Easy-Email is an AI-powered assistant that helps you generate, edit, and send professional emails.
It leverages Cloudflare Workers AI for content generation and integrates with Gmail, Outlook, and other email APIs to send and manage emails directly in the app. With features like smart replies, contact management, OAuth account linking, and AI-driven drafting, Easy-Email saves time and boosts productivity.
- Features
- Screenshots
- Tech Stack
- Installation
- Configuration
- Google API Setup (Gmail)
- Microsoft API Setup (Outlook)
- Usage
- Troubleshooting
- Future Plans
- Current Collaborators
- Collaboration
- License
- Generate and edit professional emails with AI.
- Smart Reply: AI-generated replies based on received emails.
- Gmail & Outlook integration via OAuth 2.0.
- Contact management (create, update, delete, view).
- Redis-backed rate limiting.
- Secure authentication and encryption (e.g., Fernet for secrets).
- SMTP for OTP delivery.
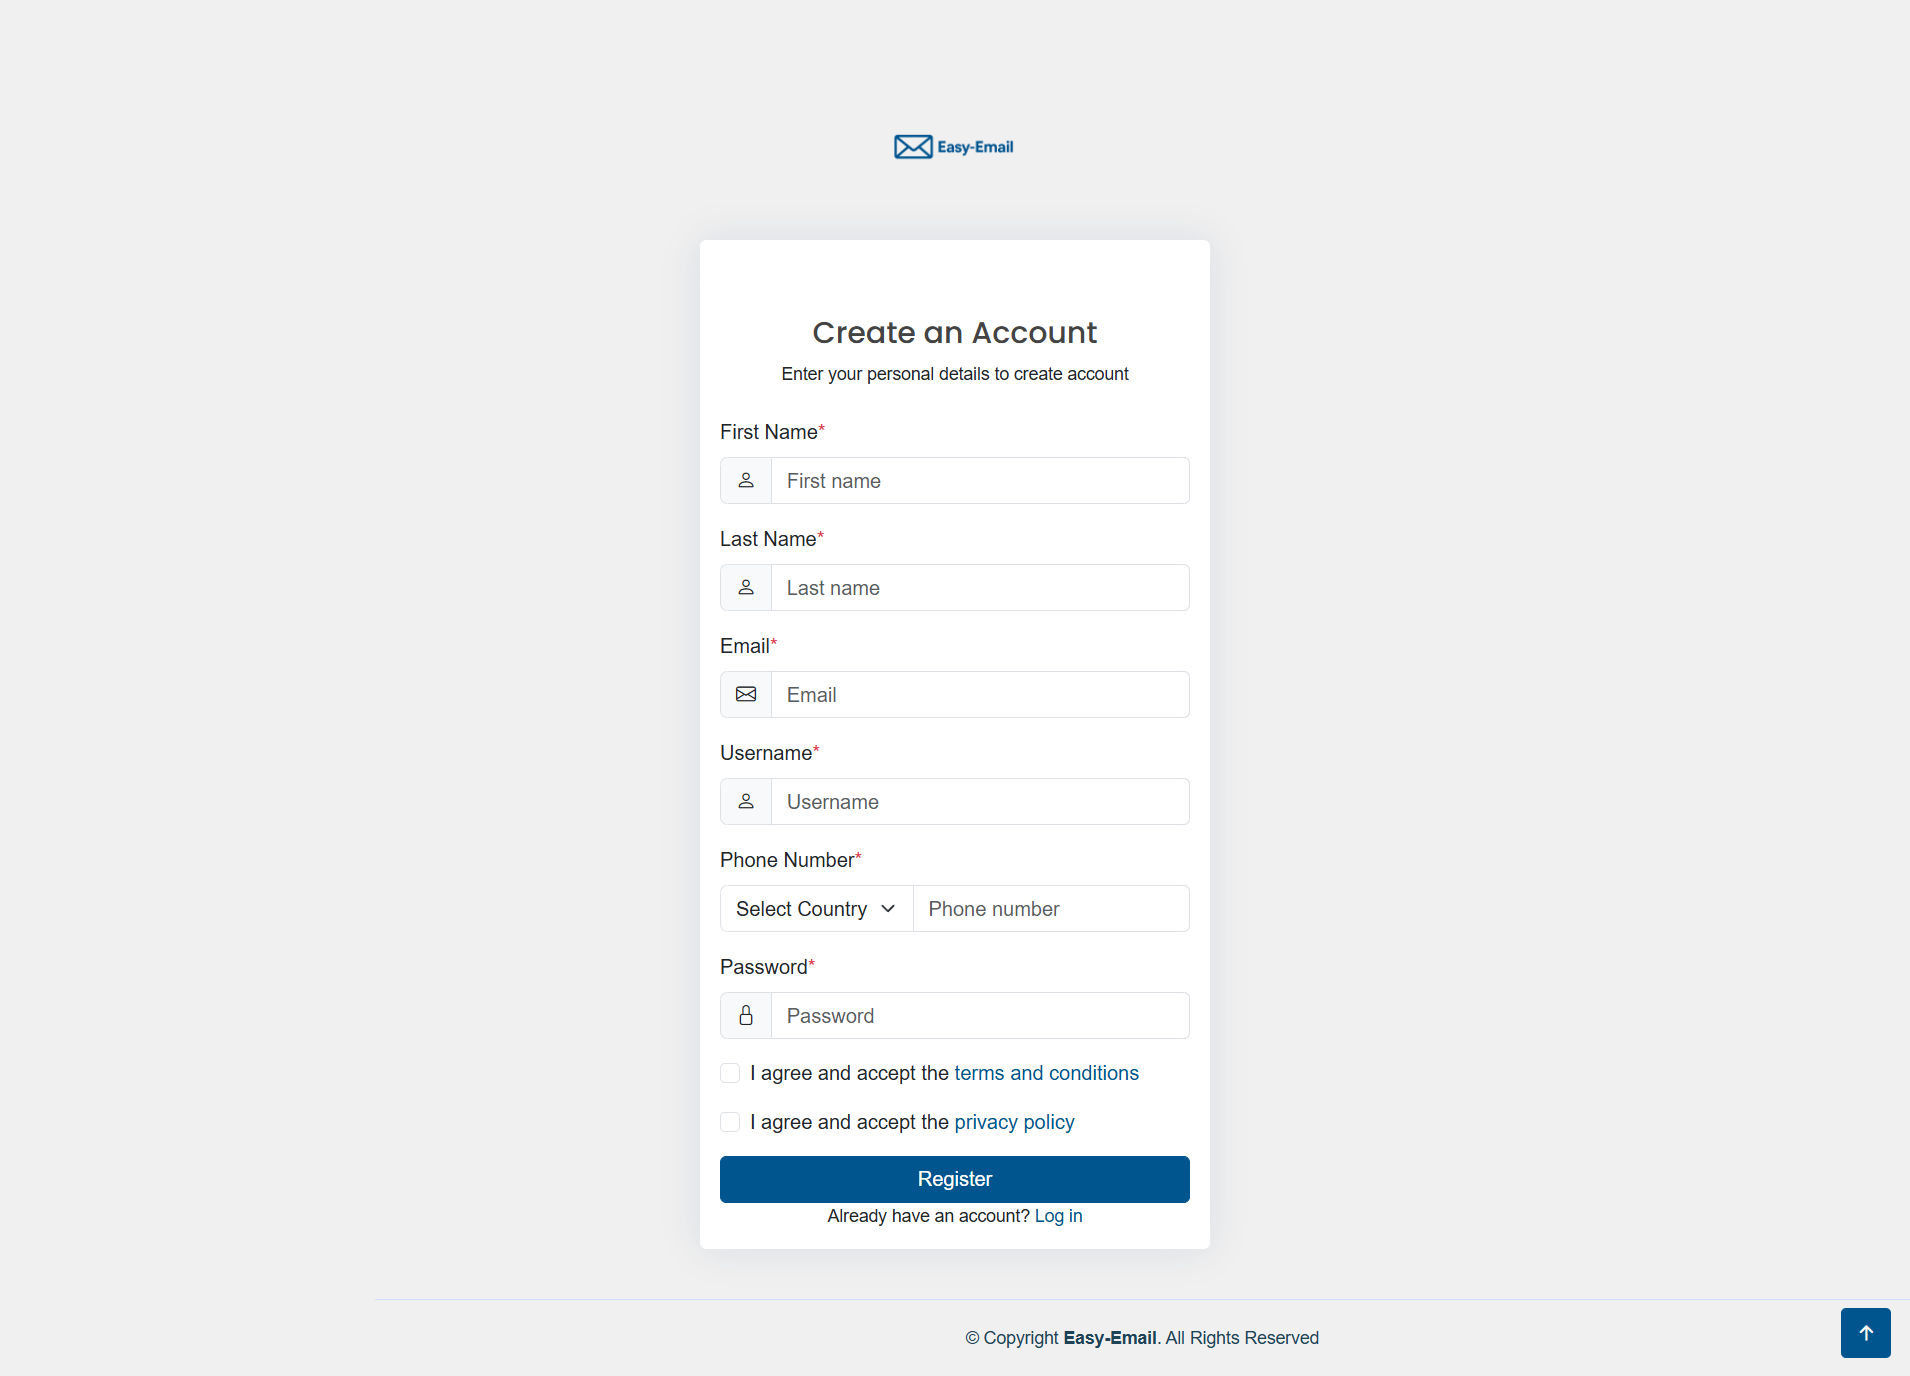
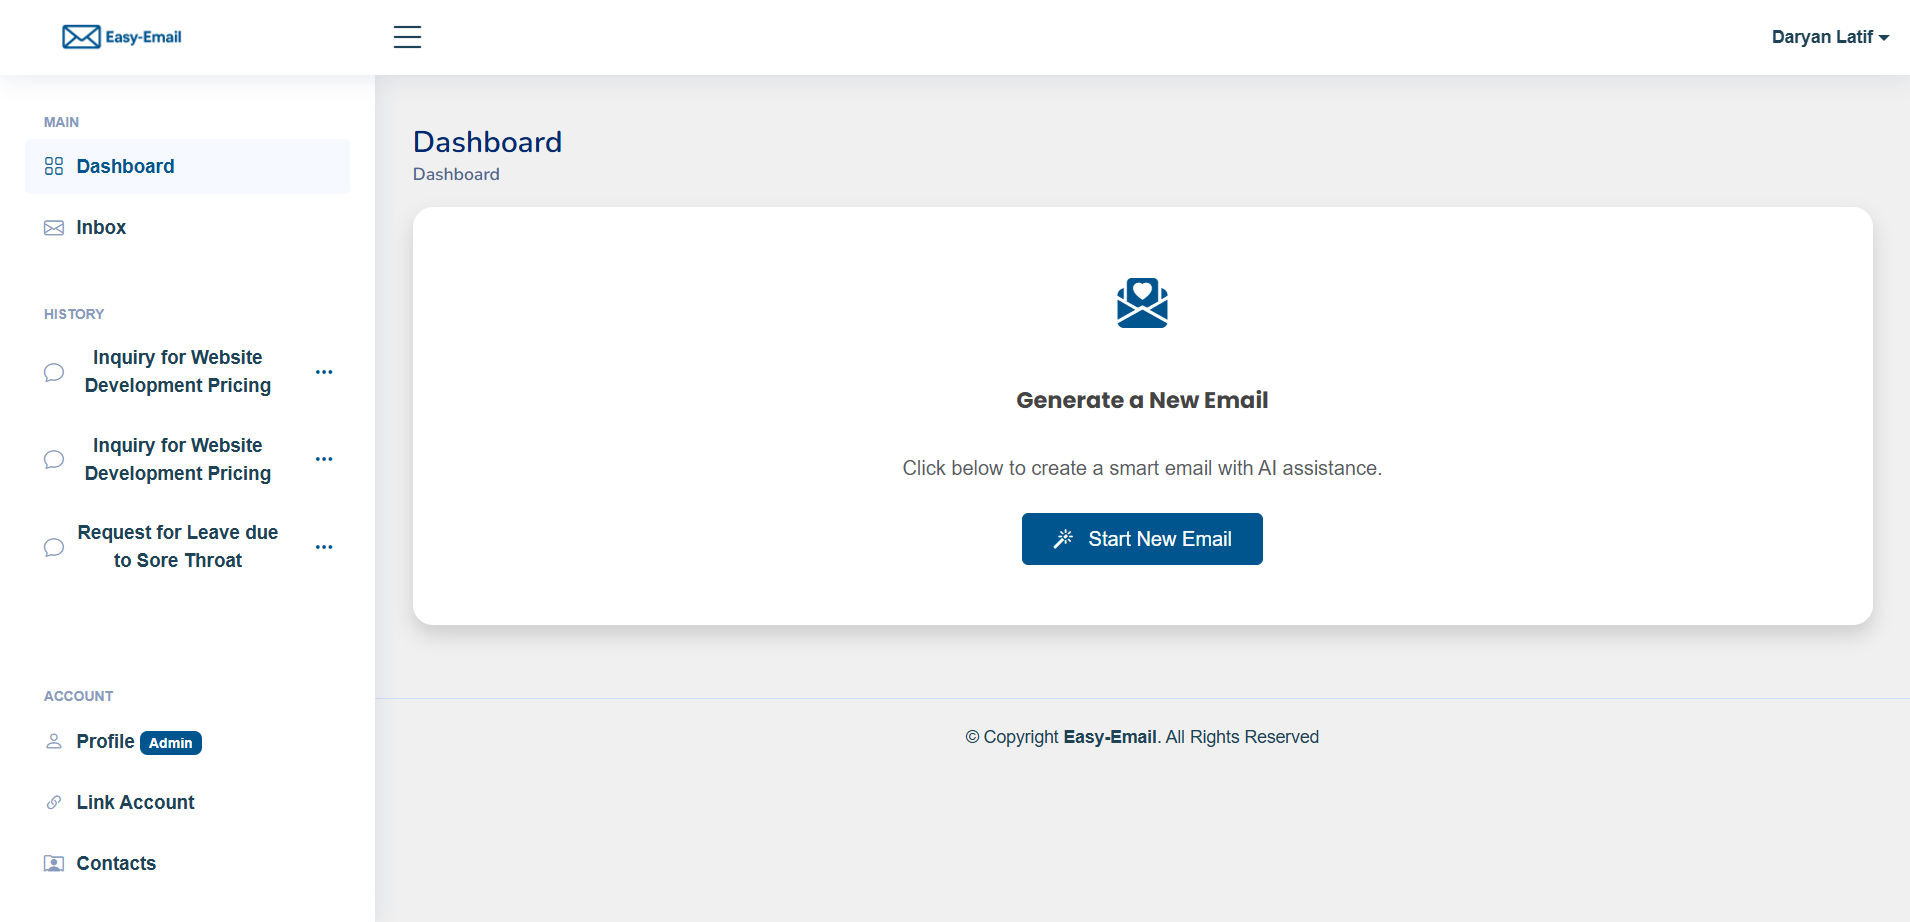
A quick look at Easy-Email’s interface and key features.
Create a new account securely.
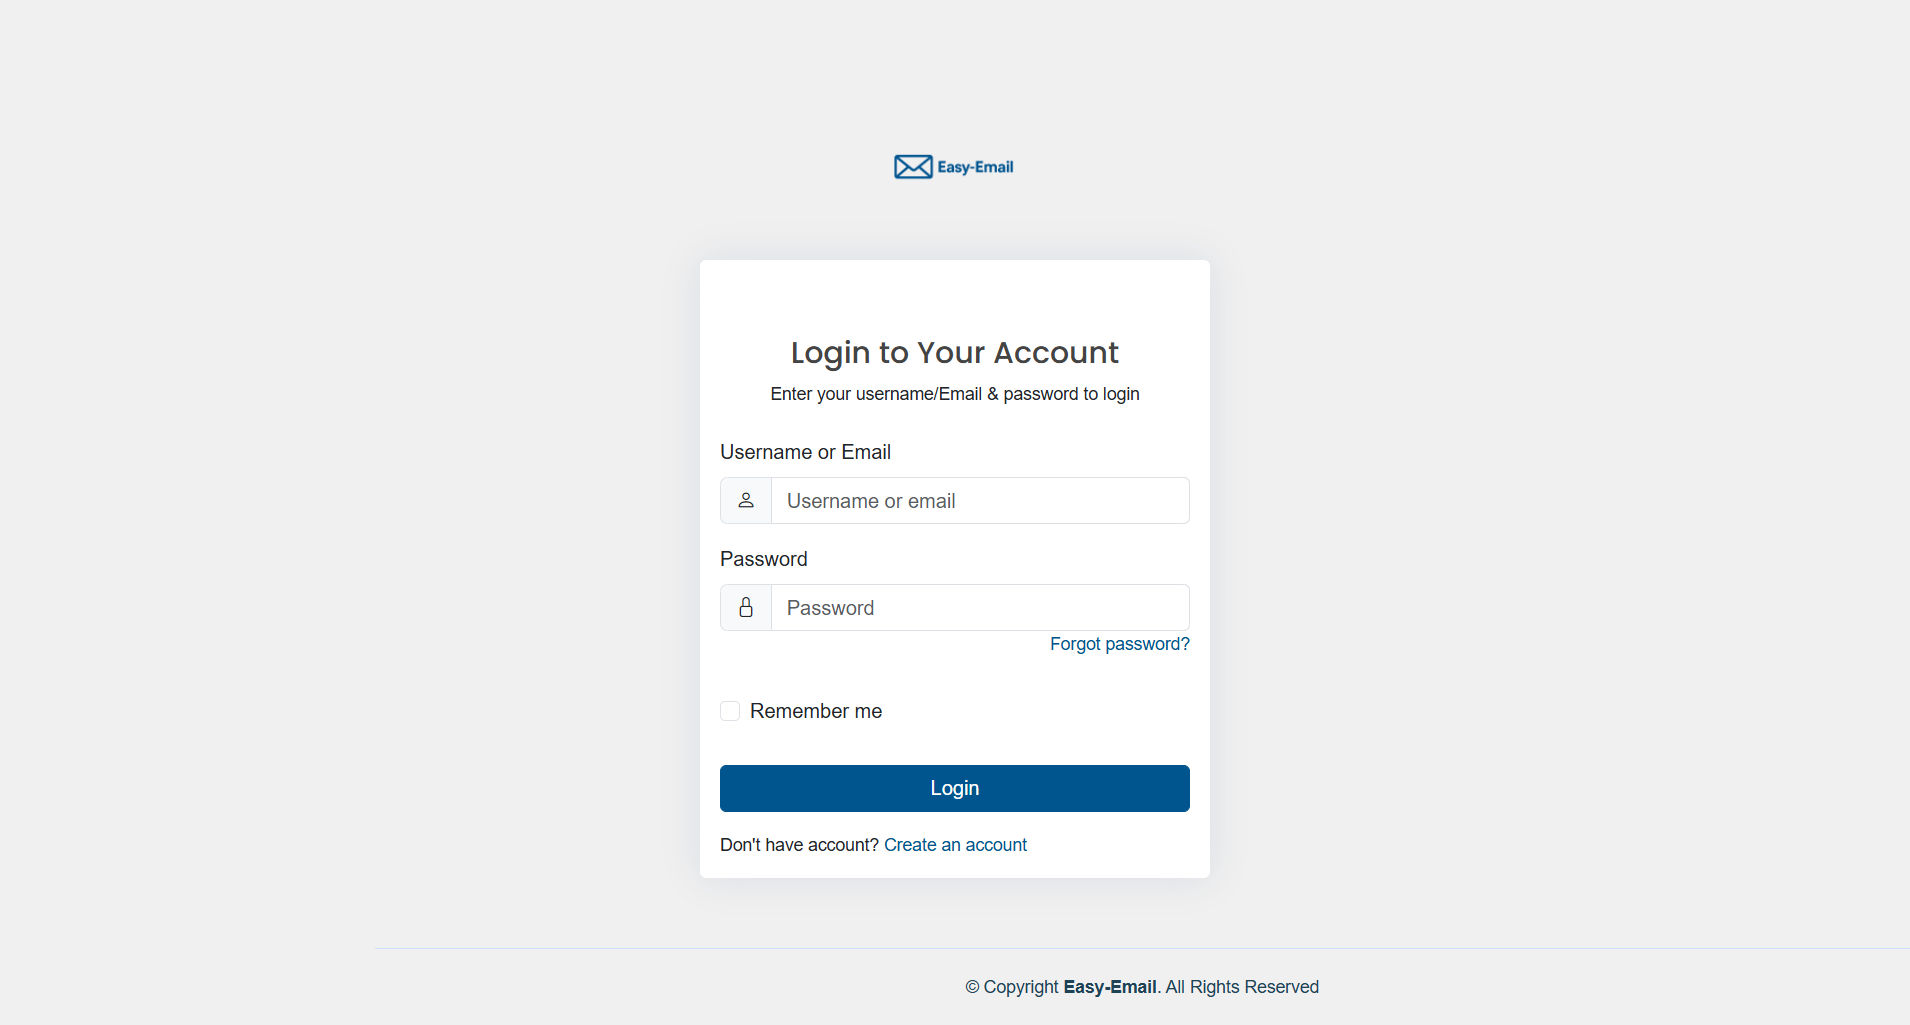
Sign in to access your dashboard.
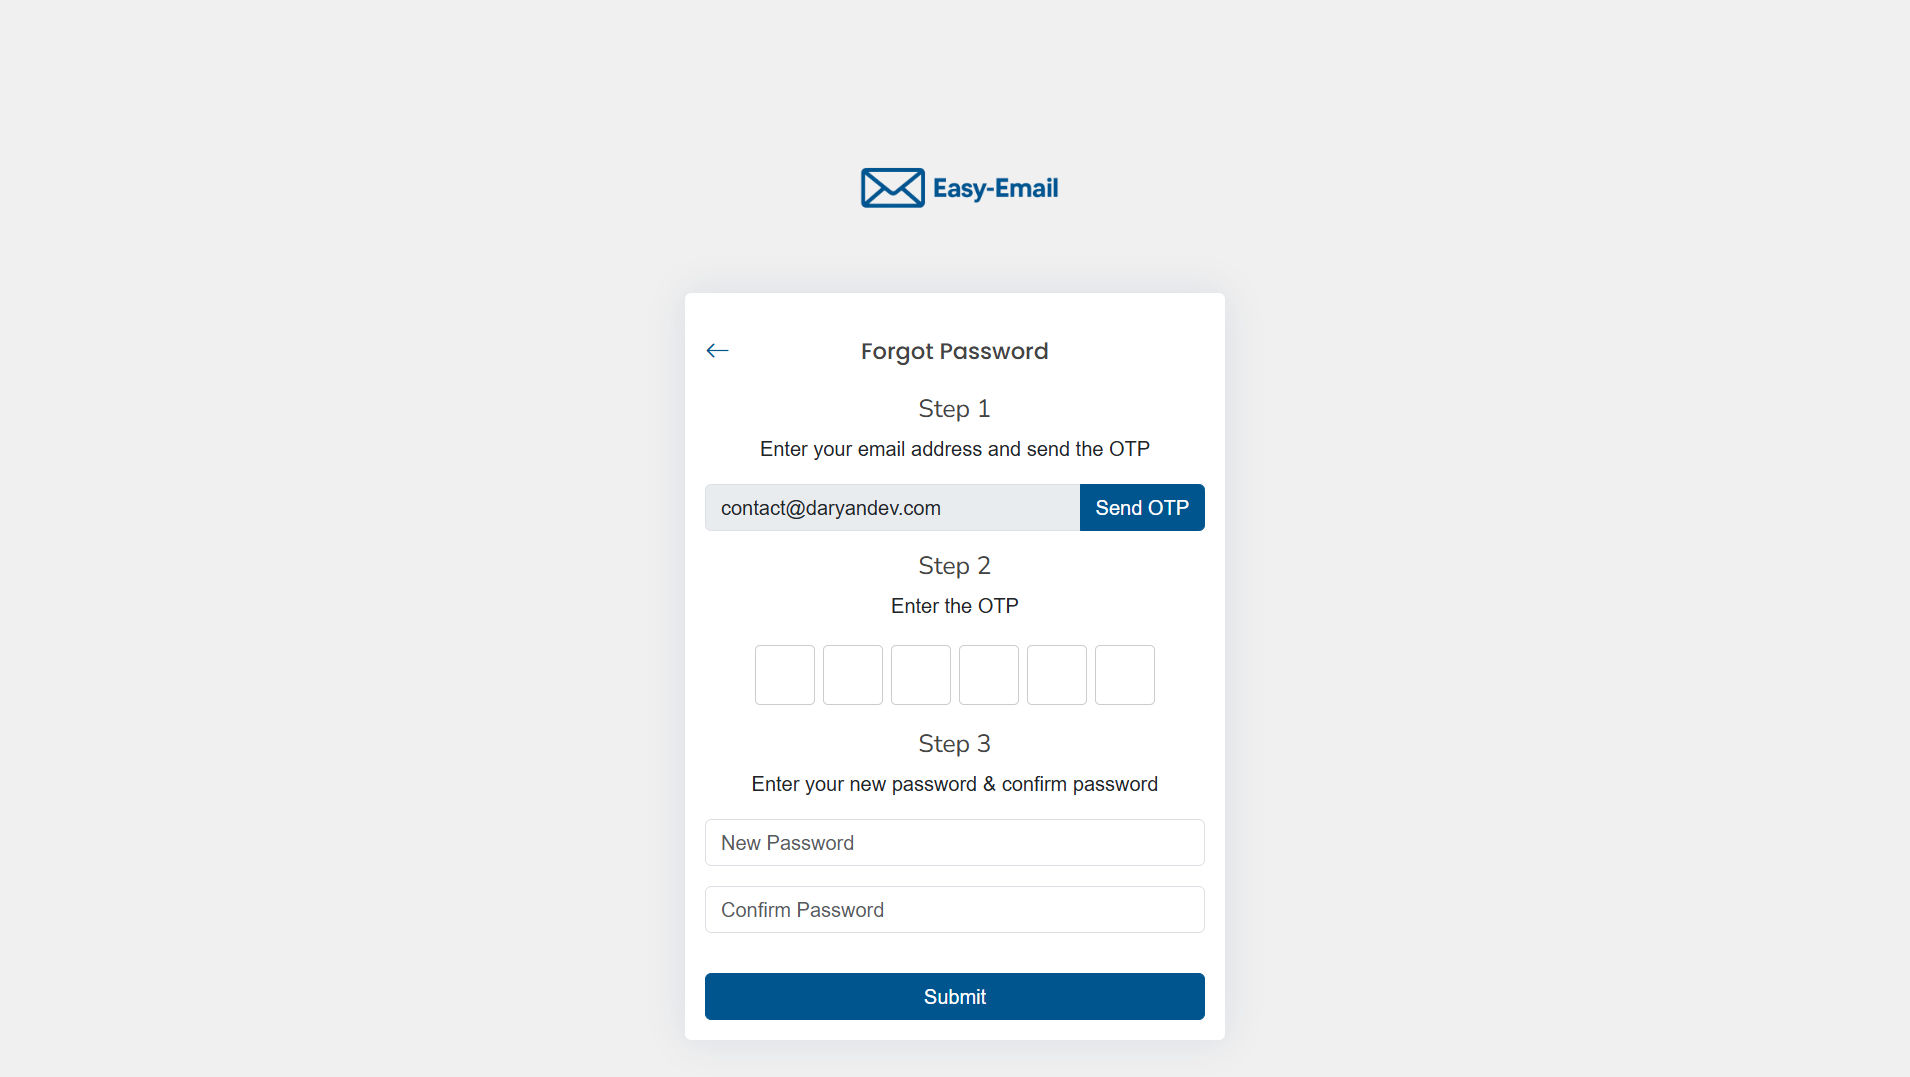
Recover your account with the password reset flow.
Overview of your activity and linked accounts.
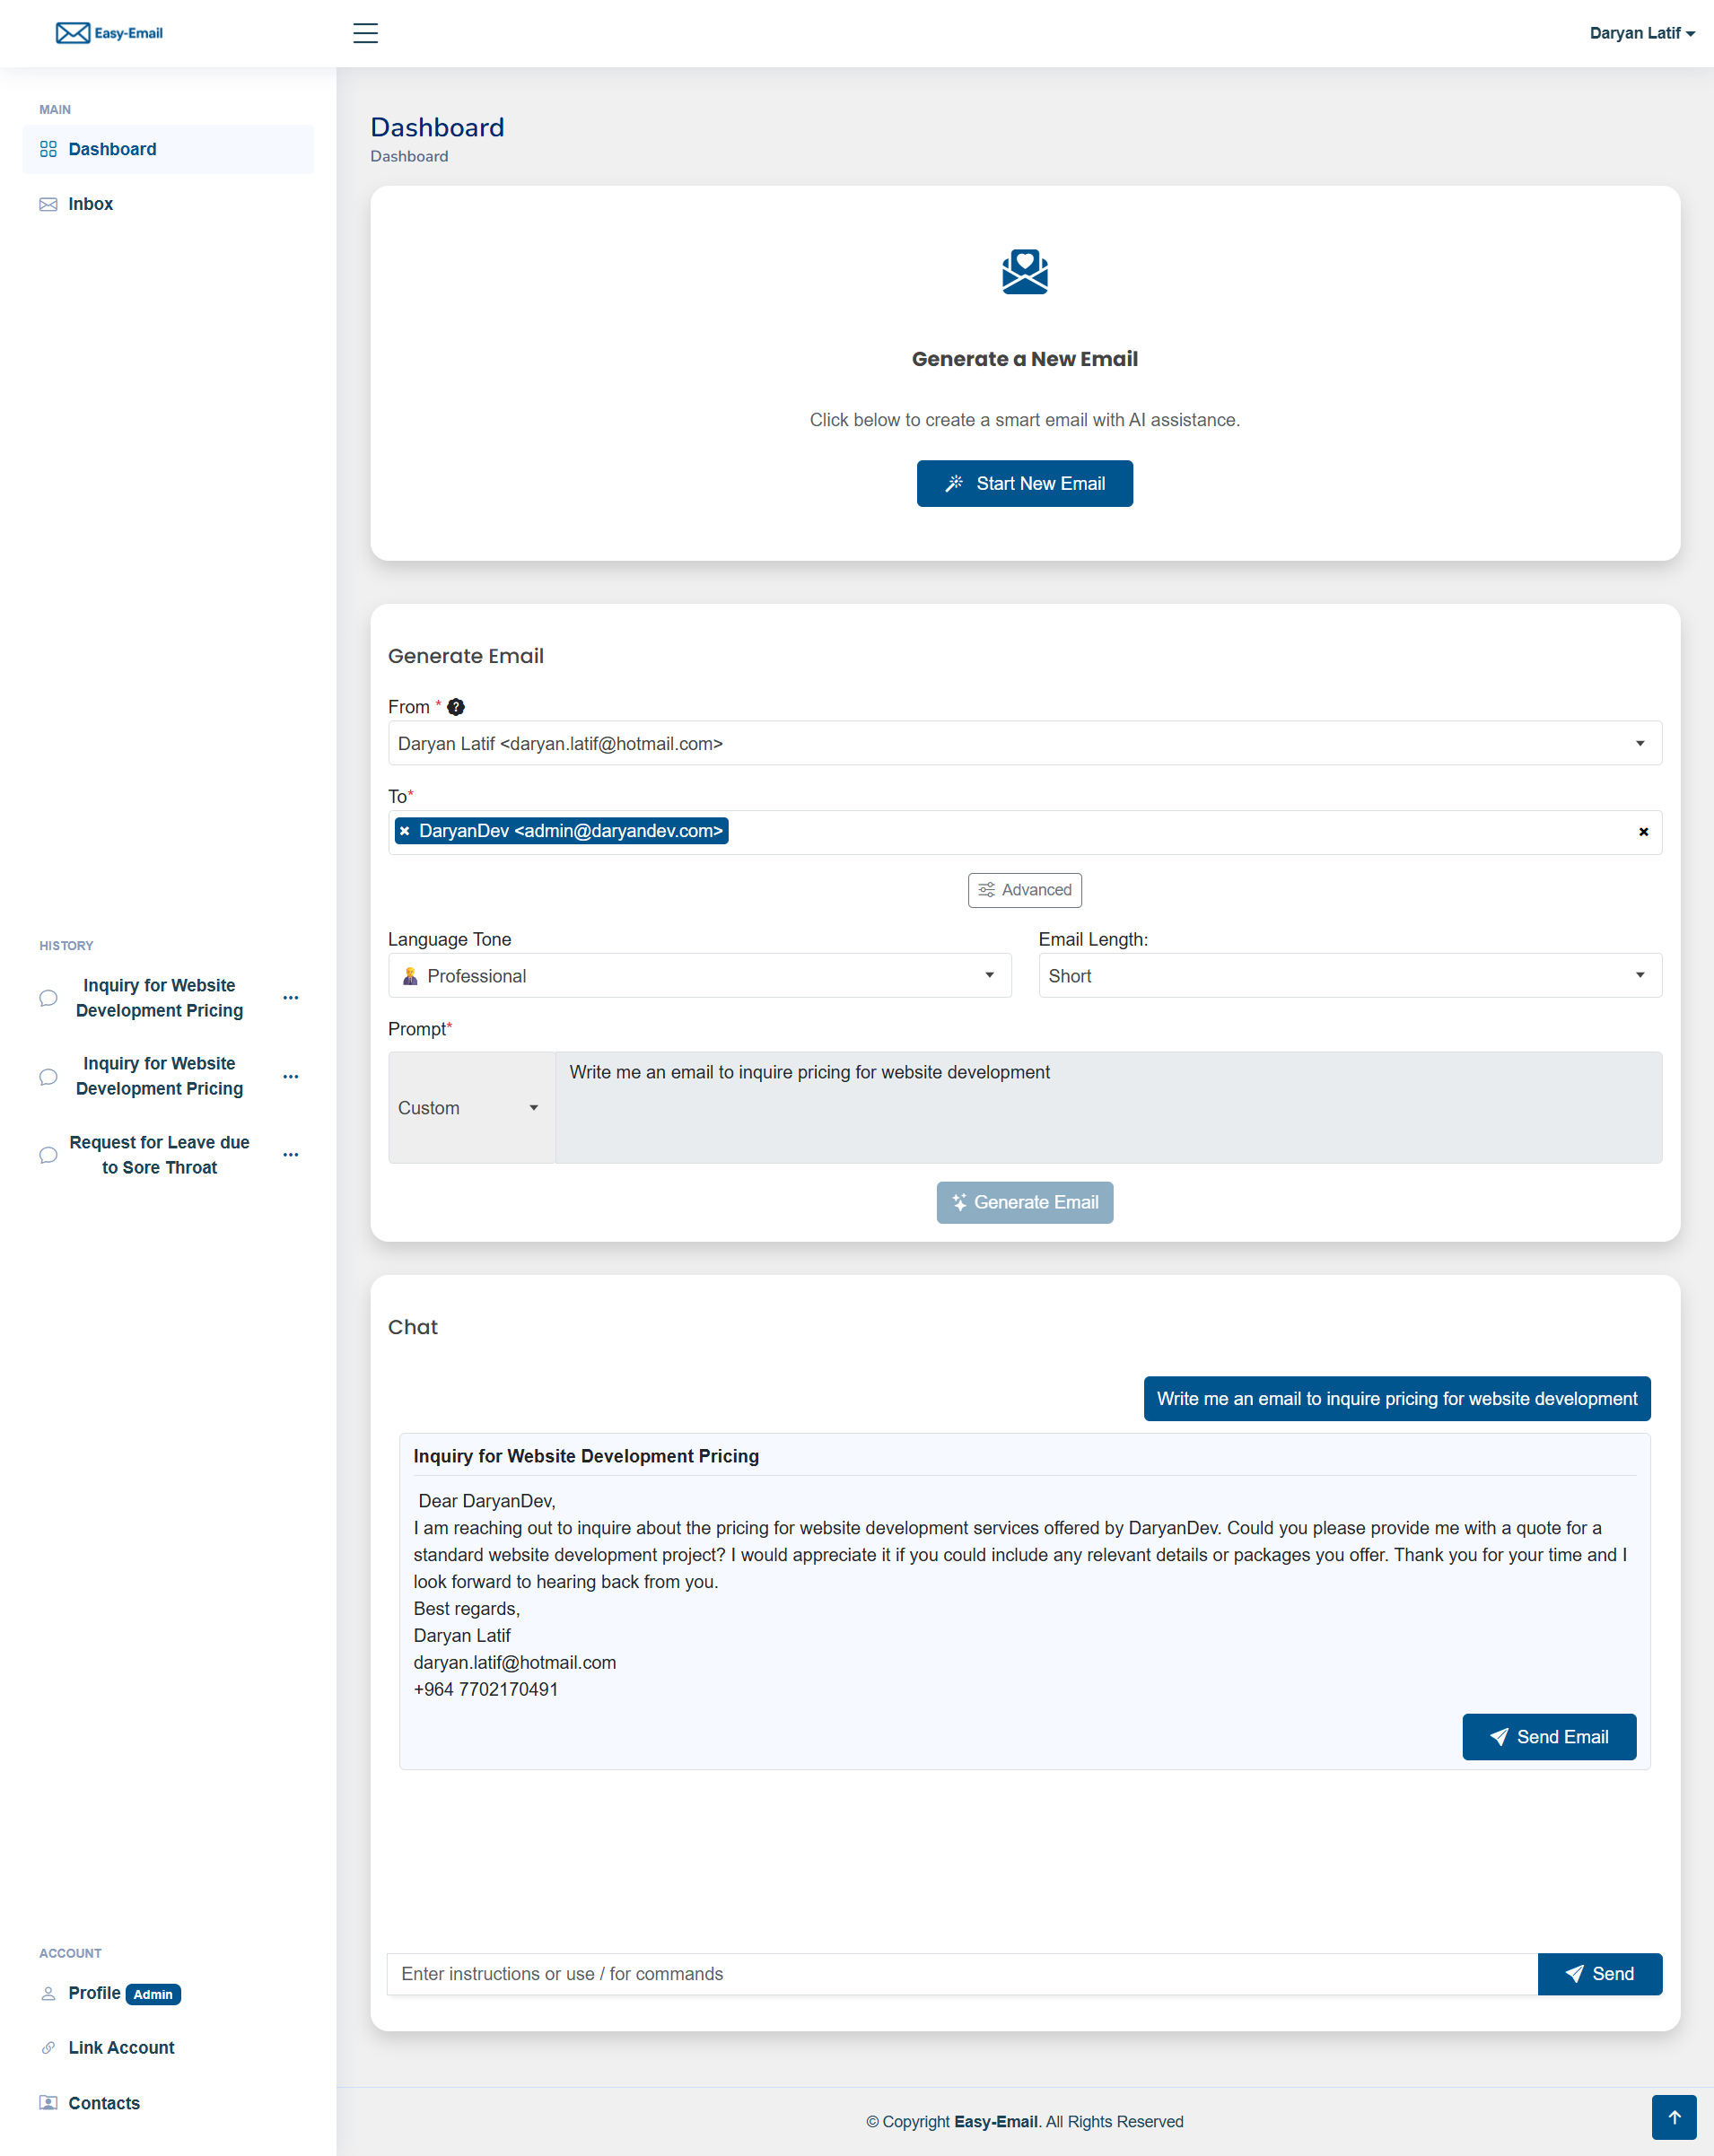
Use AI to generate and edit professional emails instantly.
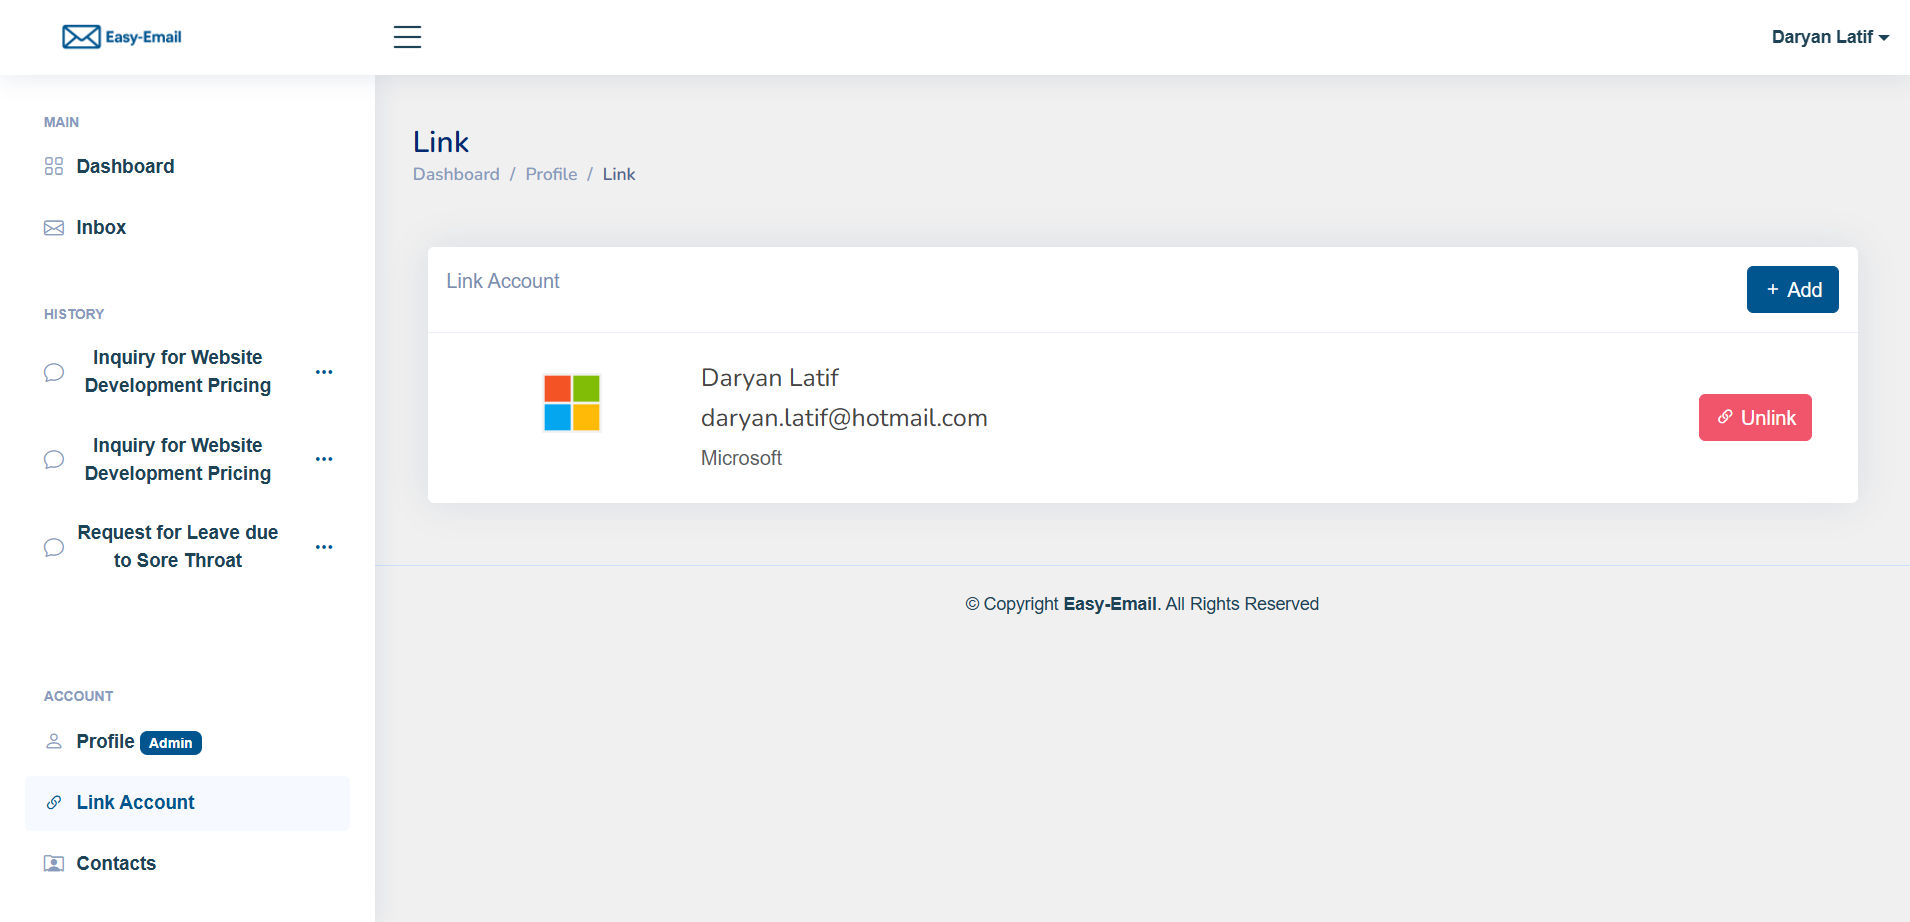
Connect Gmail or Outlook to send and receive emails.
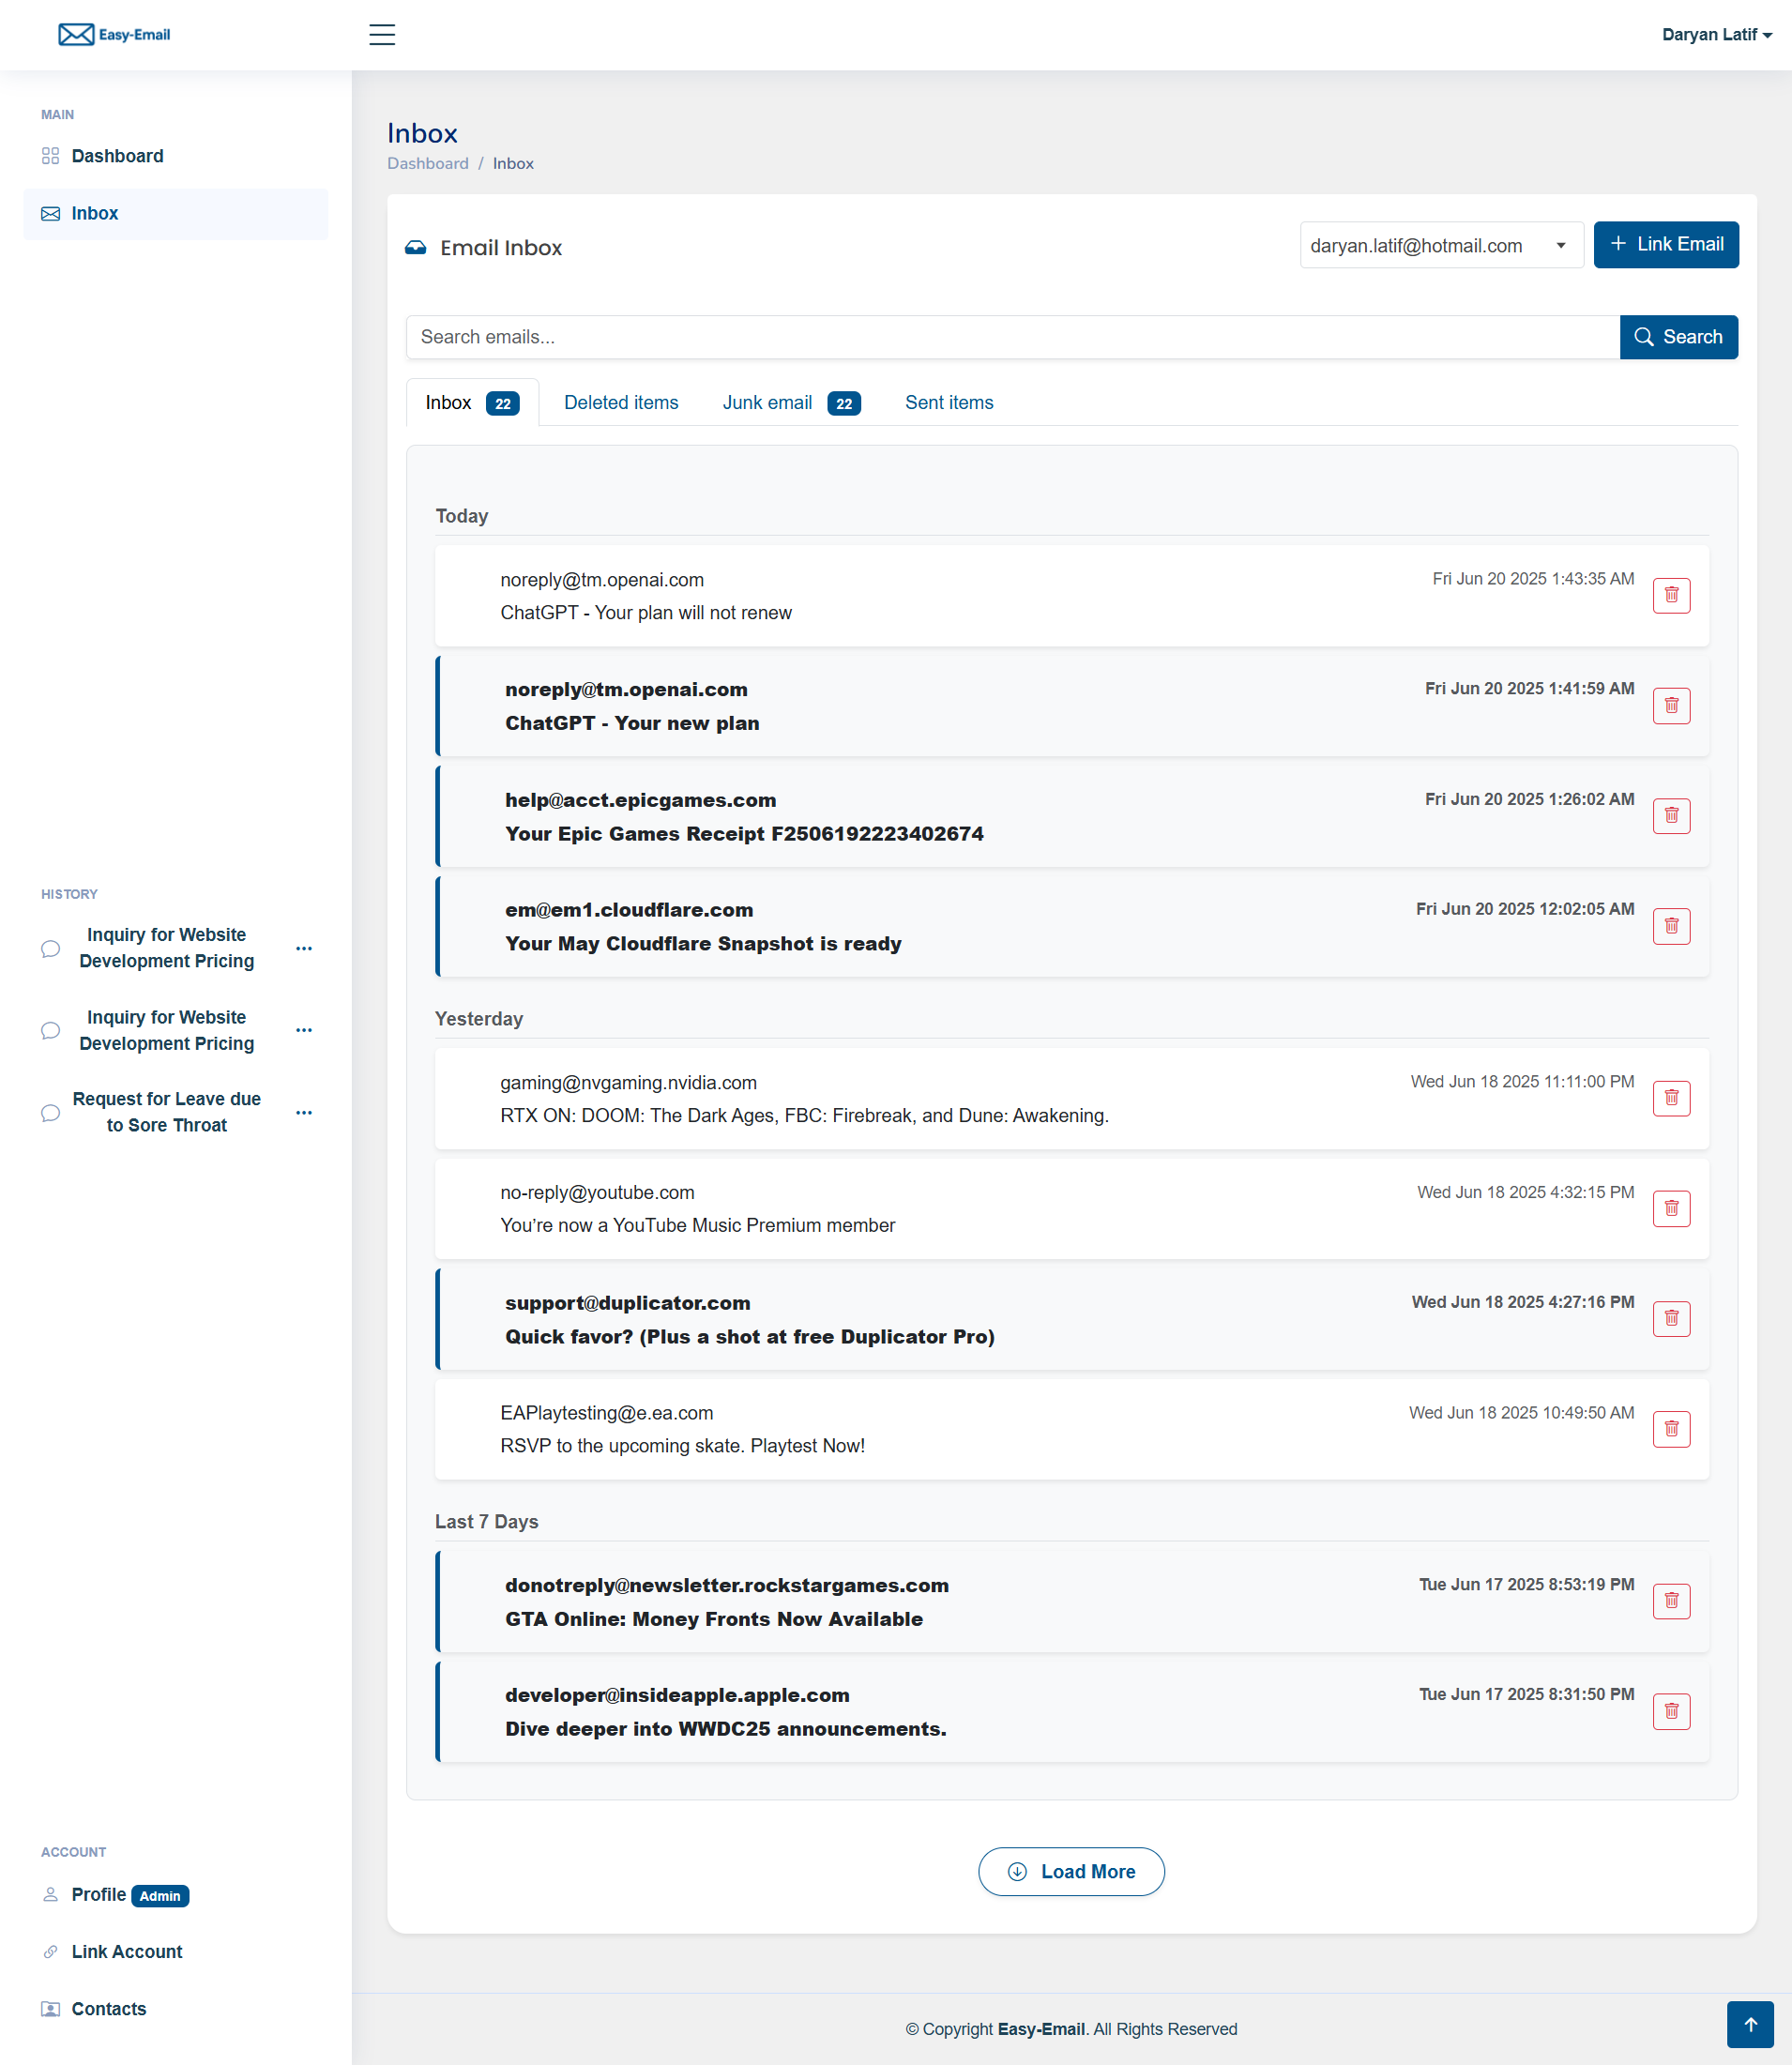
Check and manage your incoming emails.
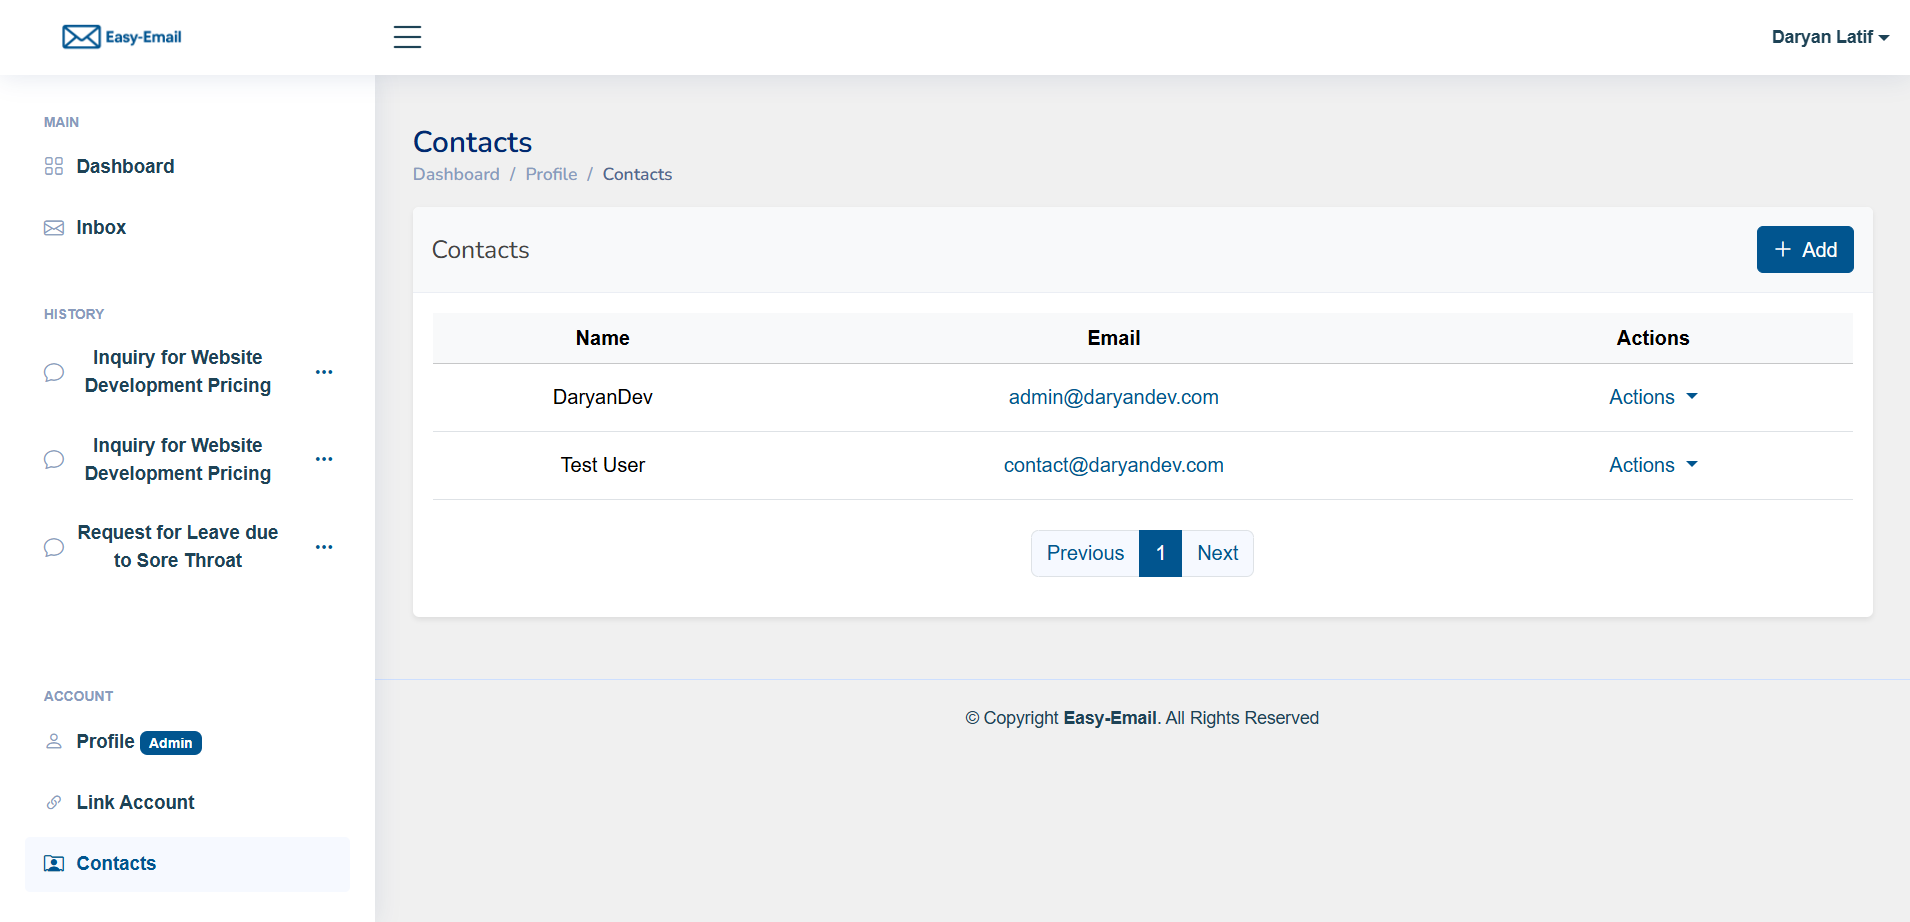
Add, edit, and organize your contacts.
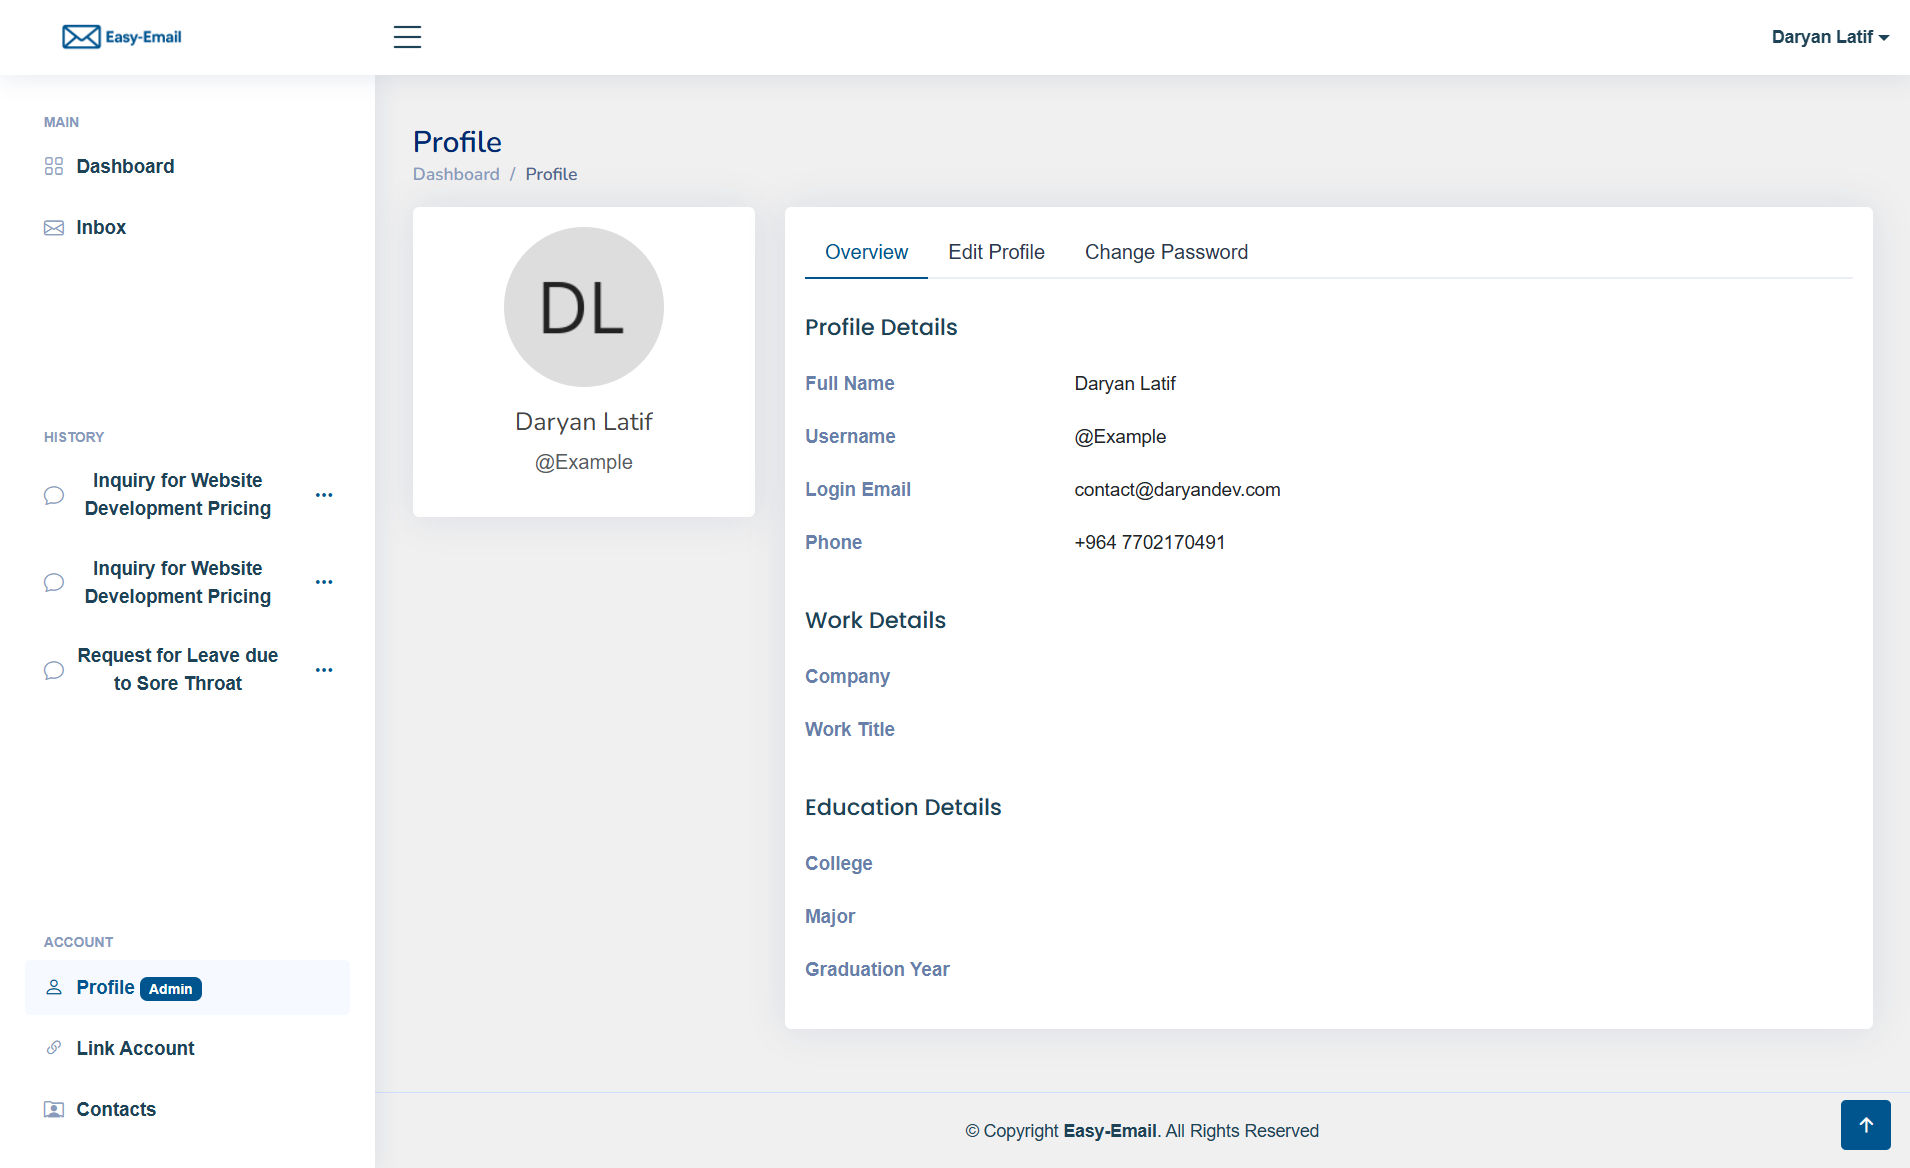
Manage your personal information and preferences.
- Backend: Python (Flask / Flask-RESTx), SQLAlchemy
- Database: PostgreSQL
- AI: Cloudflare Workers AI
- Auth & APIs: Google OAuth (Gmail/People), Microsoft Entra ID (Outlook/Microsoft Graph)
- Cache/Rate limit: Redis
- Other: Docker, Nginx Proxy (deployment)
-
Clone the repository
git clone https://github.com/Daryan97/Easy-Email cd Easy-Email -
Install Python dependencies
pip install -r requirements.txt
-
Run Redis (example using Docker Compose)
version: '3'
services:
  redis:
    image: redis
    container_name: easy-email-redis
    ports:
      - "6379:6379"
    command: ["redis-server", "--requirepass", "your_password"]
Start it:
docker compose up -d
-
Copy and edit environment variables
cp .env.example .env
Then open
.envand fill in the required values (see Configuration). -
Create the PostgreSQL database Ensure PostgreSQL is running and create a DB whose name matches your
.env. -
Run the development server
flask run
By default the app runs at
http://127.0.0.1:5000/.
Update these keys in your .env (names are examples—match your codebase if it uses different names):
# Flask App File
FLASK_APP=app.py
# Flask Environment
FLASK_ENV=development
# Flask Debug
FLASK_DEBUG=True
# Flask Secret Key
# To generate a new secret key write the following code in the command line:
# python import secrets; print(secrets.token_urlsafe())
SECRET_KEY=**********************************

# Flask Security Password Salt
# To generate a new password salt write the following code in the command line:
# python import secrets; print(secrets.SystemRandom().getrandbits(128))
SECURITY_PASSWORD_SALT=**********************************

# Data Encryption Key
# To generate a new data encryption key write the following code in the command line:
# python from cryptography.fernet import Fernet; print(Fernet.generate_key().decode())
FERNET_KEY='**********************************='

# JWT Secret Key
# To generate a new JWT secret key write the following code in the command line:
# python import secrets; print(secrets.token_urlsafe())
JWT_SECRET_KEY=**********************************
# JWT Cookie Secure
# Set to True if you are using HTTPS, otherwise set to False (not recommended)
JWT_COOKIE_SECURE=False

# Flask CORS Allowed Origins
# Add the allowed origins separated by commas
# You can allow all origins by setting the value to '*' (not recommended)
CORS_ORIGINS=http://localhost:5000,http://localhost:5505,http://127.0.0.1:5000,http://127.0.0.1:5505,http://diyari.test,https://7bbe-185-75-224-143.ngrok-free.app

# Choose the database you want to use (mysql, postgres)
DATABASE_TYPE=postgres

# MySQL Database Configuration
# Change the values to match your MySQL database configuration
MYSQL_DATABASE_HOST=localhost
MYSQL_DATABASE_PORT=3306
MYSQL_DATABASE_USER=root
MYSQL_DATABASE_PASSWORD=**********************************
MYSQL_DATABASE_DB=diyari_ai

# PostgreSQL Database Configuration
# Change the values to match your PostgreSQL database configuration
POSTGRES_DATABASE_HOST=localhost
POSTGRES_DATABASE_PORT=5432
POSTGRES_DATABASE_USER=postgres
POSTGRES_DATABASE_PASSWORD=**********************************
POSTGRES_DATABASE_DB=diyari_ai

# Redis Configuration
# Change the values to match your Redis server configuration
REDIS_HOST=165.22.21.18
REDIS_PORT=6379
REDIS_PASSWORD=**********************************
REDIS_DB=0

# Mail Configuration
# Change the values to match your mail server configuration
MAIL_SERVER=smtppro.zoho.com
MAIL_PORT=587
MAIL_USE_TLS=True
MAIL_USERNAME=admin@daryandev.com
MAIL_PASSWORD=**********************************
MAIL_DEFAULT_SENDER=Easy-Email <admin@daryandev.com>

# OpenAI API Key
# Change the value to your OpenAI API key
# Generate a new test API key from PAWAN.KRD discord server: https://discord.pawan.krd
OPENAI_API_KEY=pk-**********************************
OPENAI_BASE_URL=https://api.pawan.krd/pai-001/v1

# Cloudflare Workers AI Configuration
WORKERSAI_BASE_URL=https://gateway.ai.cloudflare.com/v1/**********************************/diyariai
WORKERSAI_API_KEY=**********************************
WORKERSAI_MODEL=@cf/meta/llama-3.1-8b-instruct

# OAuth Library Insecure Transport (Not recommended for production - change to False)
OAUTHLIB_INSECURE_TRANSPORT=True

# Google OAuth API Scopes (Send Email, Read Email, Profile, Email, OpenID)
GOOGLE_SCOPES=https://www.googleapis.com/auth/gmail.send,https://www.googleapis.com/auth/gmail.readonly,https://www.googleapis.com/auth/userinfo.profile,https://www.googleapis.com/auth/userinfo.email,openid
GOOGLE_CLIENT_SECRET=C:\Users\darya\OneDrive\Documents\diyariai_certs\client_secret.json

# Microsoft OAuth API
MICROSOFT_CLIENT_ID=*****************************************************
MICROSOFT_CLIENT_SECRET=********************************************************************
MICROSOFT_AUTHORITY=https://login.microsoftonline.com/common
MICROSOFT_SCOPES=https://graph.microsoft.com/.default

# Timezone Offset (Change to the server timezone offset)
TIMEZONE_OFFSET=3

# Required date for Terms of Service and Privacy Policy
TERMS_OF_SERVICE_DATE=2024-01-01
PRIVACY_POLICY_DATE=2024-01-01

# SSL Certificate and Key Files
SSL_CERT_FILE=C:\Users\darya\OneDrive\Documents\diyariai_certs\cert2.pem
SSL_KEY_FILE=C:\Users\darya\OneDrive\Documents\diyariai_certs\privkey2.pem
Note: Make sure your
/auth/google/callbackand/auth/microsoft/callbackroutes exist in the app. If your routes differ, update the redirect URIs and any OAuth config accordingly.
Follow these steps in Google Cloud Console:
- Create a project (or use an existing one).
- Enable APIs → APIs & Services → Enable APIs and Services:
- Gmail API
- People API (only if you need contacts)
- Configure OAuth consent screen:
- User Type: External (for most use-cases) or Internal for Workspace.
- Fill in app info, scopes (you can add during credential creation too), and add test users if the app is not published.
- Create OAuth 2.0 Credentials → Credentials → Create Credentials → OAuth client ID:
- Application type: Web application
- Authorized redirect URIs: add your app callback, e.g.
http://127.0.0.1:5000/auth/google/callbackhttps://your-domain.com/auth/google/callback
- Copy the Client ID and Client Secret into your
.env. - Use the following scopes (as requested):
openidemailprofilehttps://www.googleapis.com/auth/gmail.send(Send Email)https://www.googleapis.com/auth/gmail.readonly(Read Email)
If you later need full Gmail write access (labels, drafts), you may add broader scopes, but start with least privilege.
Steps in Azure Portal → Microsoft Entra ID:
- App registrations → New registration:
- Name your app, choose Accounts in any organizational directory and personal Microsoft accounts (or as needed).
- After creation, note Application (client) ID.
- Certificates & secrets → Client secrets → New client secret → copy the secret value (once).
- Authentication → add Redirect URIs (Web):
http://127.0.0.1:5000/auth/microsoft/callbackhttps://your-domain.com/auth/microsoft/callback
Enable ID tokens if you rely on OpenID Connect.
- API permissions → Microsoft Graph → Delegated permissions → add the scopes you asked for:
Mail.ReadWriteMail.Sendoffline_accessUser.ReadUser.ReadBasic.AllClick Grant admin consent (if required by your tenant).
- Put MICROSOFT_CLIENT_ID, and MICROSOFT_CLIENT_SECRET in
.env.
For personal Microsoft accounts,
MICROSOFT_AUTHORITY=https://login.microsoftonline.com/commonworks. For single-tenant orgs, use the specific tenant ID.
- Start the backend (
flask run). - Visit the app in your browser.
- Link your Google or Microsoft account via the Connect/Link button.
- Draft a new email with AI or open an existing email to Smart Reply.
- Send directly through Gmail/Outlook APIs.
- invalid_client / redirect_uri_mismatch
Ensure the redirect URI in your provider console exactly matches the one used by your app and.env. - Google test users blocked
Add your email to Test users on the OAuth consent screen until the app is published. - Insufficient permissions / 403
Verify that scopes requested by the app match those configured and granted in the provider. - Rate limiting
ConfirmREDIS_URLis correct and the Redis server is reachable with the configured password. - SMTP OTP not delivered
Check SMTP credentials and TLS settings; some providers require “App Passwords”.
-
⚡ Code Optimization
Improve the API for better performance, security, and maintainability. -
🖥️ Frontend–Backend Separation
Decouple the frontend from the backend and reimplement the UI using Vue.js. -
🛡️ Fixing Vulnerabilities
Update insecure dependencies and refactor code to address security issues. -
🔑 Completing Role System
Implement a fully functional role-based access control (RBAC) system. -
🛠️ Admin Panel for Administrators
Build a dedicated admin panel to provide administrators with proper management tools, rather than relying on limited testing functions. -
📱 Mobile App Integration
Develop a mobile version (iOS/Android) to let users generate and send emails on the go. -
🌐 Multi-Language Support
Add translation and tone adaptation so users can write professional emails in different languages. -
📊 Analytics Dashboard
Provide insights into email activity (e.g., number of emails sent, response times, AI usage). -
📂 Templates & Presets
Allow users to save, manage, and reuse AI-generated email templates for common use cases. -
🔔 Smart Notifications
Real-time alerts for important emails and reminders to follow up. -
🧩 Plugin/Extension Support
Build Chrome/Outlook/Gmail add-ons to use Easy-Email directly inside existing inboxes. -
🤝 Team Collaboration
Shared inbox and team features for businesses (assign/review emails together).
| Name | Role | Contact |
|---|---|---|
| Daryan Latif | Project Lead | admin@daryandev.com |
Contributions, ideas, and improvements are welcome!
If you’re interested in collaborating on this project, please contact me at admin@daryandev.com.
This project is licensed under the MIT License. See the LICENSE file for details.