# Snowflake Data Sharing

Glassnode offers secure access to historical metrics data via Snowflake Marketplace private listings, allowing you to query our data directly in your own Snowflake environment.

Data Shares allow you to access the full history range of all our metrics without needing to ingest the data through the API, saving you a lot of time in builiding a client, managing ETLs and maintaining an data ingestion pipeline infrastructure.

## What are Snowflake Listings?

We provide access to our metrics data through Snowflake listings, which allow you to use our data in your own Snowflake environment. Rather than setting up direct Snowflake Shares, we use the Snowflake Marketplace private listings approach to make our data easily accessible from any Snowflake region.

## Getting Started

To access Glassnode's data through Snowflake listings, you'll need to provide Glassnode your account identifier

### Step 1: Retrieving your account identifier

To find your account identifier, you can either:

* Follow [Snowflake's guide](https://docs.snowflake.com/en/user-guide/admin-account-identifier#finding-the-organization-and-account-name-for-an-account) to locate your organization and account name.
* Execute the following query in your Snowflake account:

```
SELECT CURRENT_ORGANIZATION_NAME() || '.' || CURRENT_ACCOUNT_NAME();
```

### Step 2: Request Access

Share your account identifier with our team.

### Step 3: Access Your Data

Once approved, you'll be able to access Glassnode's data directly in your Snowflake environment through the listing.

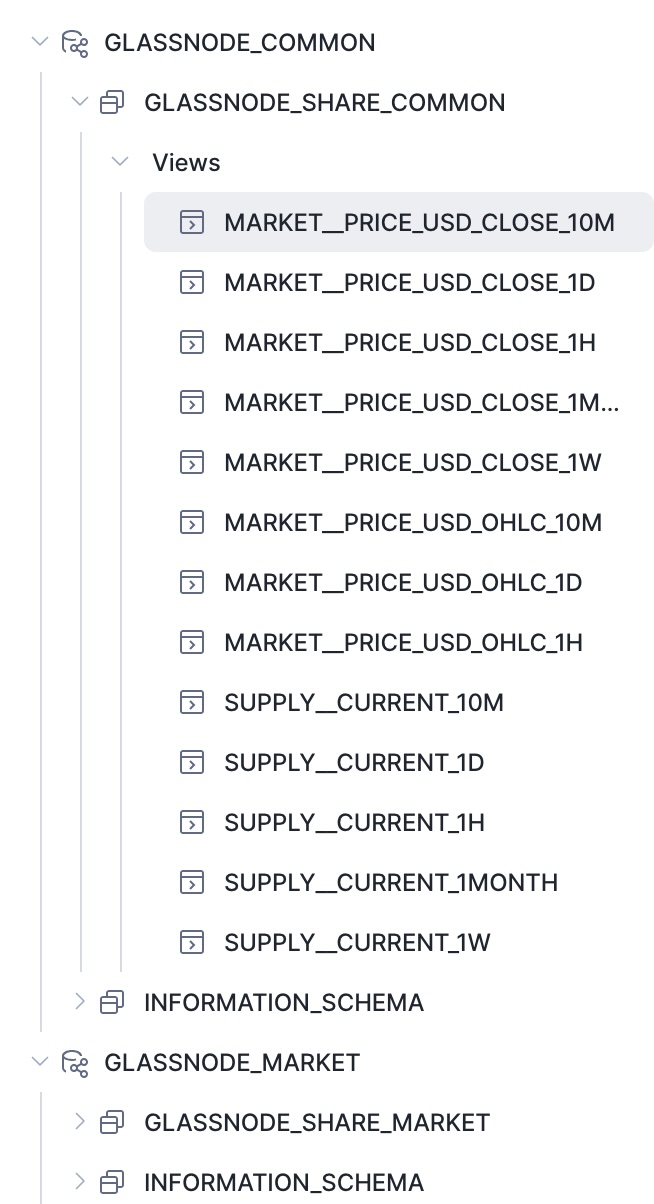
For a complete overview of available metrics, see our [Metric Catalog](https://gitlab.com/glassnode/web/docs/-/blob/master/data/metric-catalog/README.md).

{% hint style="warning" %}
**Beta Feature**: During the beta phase, data sharing covers 99% of our metrics. Support for additional metrics will be added as we expand this feature.
{% endhint %}

### How to Access Glassnode Data

Once you've been approved for access, you'll receive an email notification to set up your data listing. Follow these steps:

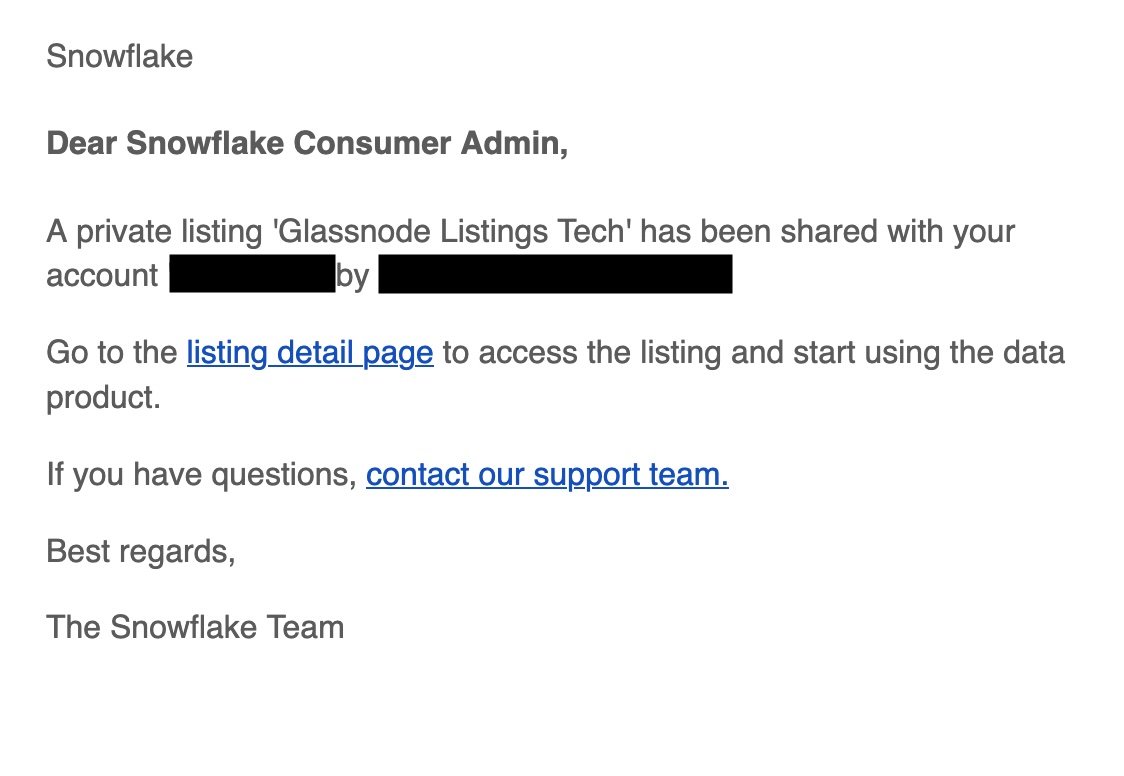
1. **Click the listing detail page link** in the email notification you received:

   <div align="center"><img src="https://2190898932-files.gitbook.io/~/files/v0/b/gitbook-x-prod.appspot.com/o/spaces%2F-Ldi5WtVBeQ2iFbdqJ1a%2Fuploads%2Fgit-blob-008a9187c7bc3a27ec9f1a3953a918902f79c226%2Femail_example.jpg?alt=media" alt="Email notification with listing detail page link" width="40%"></div>

   <div data-gb-custom-block data-tag="hint" data-style="info" class="hint hint-info"><p>If you don't receive an email, you likely haven't configured email notifications in your Snowflake account. In this case, navigate directly to the <code>Data sharing</code> > <code>External sharing > Share with you</code> section in the Snowflake UI, where you'll find the Glassnode listing ready for you to access.</p></div>
2. **Click the Get button** on the listing page:

   <div data-gb-custom-block data-tag="hint" data-style="info" class="hint hint-info"><p>
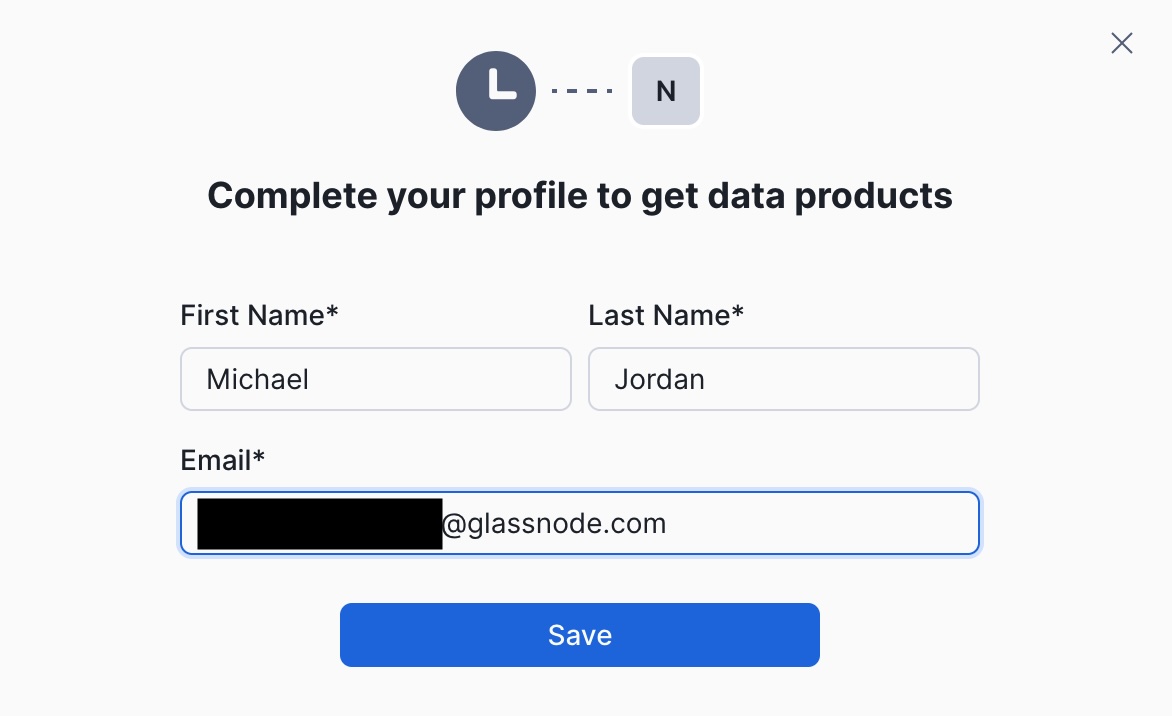
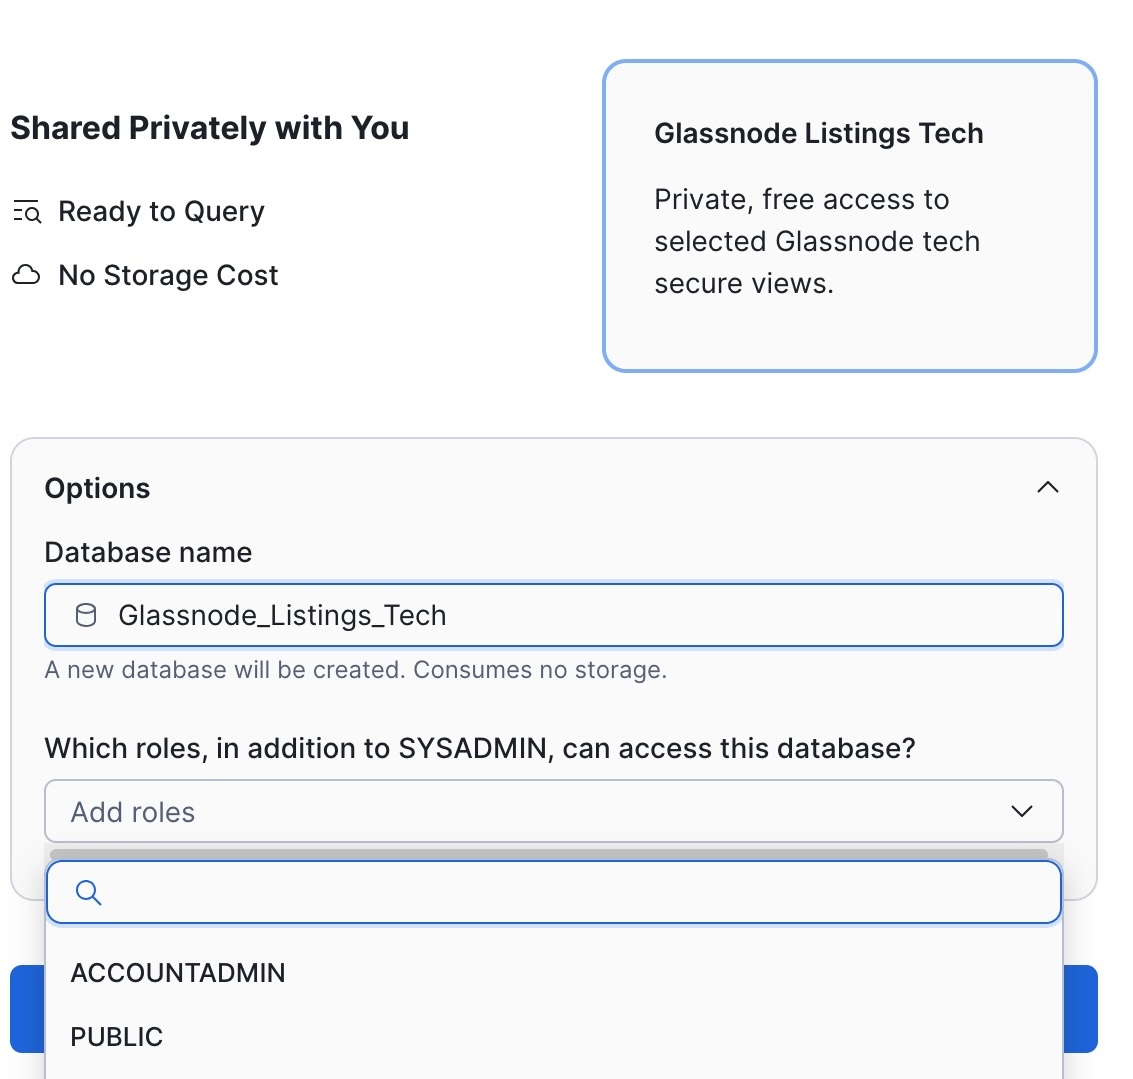
If you've subscribed to multiple data packages (onchain, market, signals, common, metadata), you'll need to click the <code>Get</code> button for each package separately.</p></div>

   ![Get button on listing page](https://2190898932-files.gitbook.io/~/files/v0/b/gitbook-x-prod.appspot.com/o/spaces%2F-Ldi5WtVBeQ2iFbdqJ1a%2Fuploads%2Fgit-blob-66a445642aefb2b74cd9097adfbe994aaa5b9180%2Fget.jpg?alt=media)
3. **Fill in your personal information** in the form:

   <div align="center"><img src="https://2190898932-files.gitbook.io/~/files/v0/b/gitbook-x-prod.appspot.com/o/spaces%2F-Ldi5WtVBeQ2iFbdqJ1a%2Fuploads%2Fgit-blob-f4b1fb3cb49e2d20106592dbe1a029a5a6929627%2Fpersonal_data.jpg?alt=media" alt="Personal data form" width="40%"></div>
4. **Select your database name and role** where the listing will be mapped in your Snowflake account:

   <div align="center"><img src="https://2190898932-files.gitbook.io/~/files/v0/b/gitbook-x-prod.appspot.com/o/spaces%2F-Ldi5WtVBeQ2iFbdqJ1a%2Fuploads%2Fgit-blob-de57a51f2f2a9cbd908ccaf040ecb4bf95d1fbe7%2Fselect_database_1.jpg?alt=media" alt="Database and role selection" width="40%"></div>
5. **Wait for initial replication**. The first time you access the dataset, Snowflake will replicate the data to your account. You'll see the dataset in a `Replicating` state:

   <div data-gb-custom-block data-tag="hint" data-style="info" class="hint hint-info"><p>⚠️ <strong>Initial Replication Time</strong>: Initial replication can take up to an hour depending on the number of objects being shared. Please be patient during this initial setup phase.</p></div>
6. **Start querying your data**. Once replication is complete, you can access the data as a normal database in Snowflake.

### How to Consume Metrics

Once you have access to the Glassnode data listing in your Snowflake account, you can explore and query the available metrics:

1. **Browse the catalog**: You'll see a set of views in your database, with one view per metric and time resolution:

   <div align="center"><img src="https://2190898932-files.gitbook.io/~/files/v0/b/gitbook-x-prod.appspot.com/o/spaces%2F-Ldi5WtVBeQ2iFbdqJ1a%2Fuploads%2Fgit-blob-0e55f60154850af0888e0c34dc16d685eaf1e4ee%2Fcatalog.jpg?alt=media" alt="Catalog view showing available metrics" width="40%"></div>
2. **View metric details**: Click on any view and select `View details` to see a description of the metric, including its definition and available fields:

   ![View details showing metric description](https://2190898932-files.gitbook.io/~/files/v0/b/gitbook-x-prod.appspot.com/o/spaces%2F-Ldi5WtVBeQ2iFbdqJ1a%2Fuploads%2Fgit-blob-736742325c5f5f6166ad462b9542721cad572fc4%2Fview_details.png?alt=media)

### Metrics Schema

**Table names** follow the pattern: `{CATEGORY}__{METRIC_NAME}_{RESOLUTION}`

Example: `ADDRESSES__ACTIVE_COUNT_1MONTH`

Each metric table follows a consistent schema structure with three types of fields:

#### Field Types

1. **Timestamp Field**
   * Always named `TIMESTAMP`
   * Represents the time of the data point
   * Type: `Timestamp`
2. **Filter Fields**
   * Used to segment and filter data
   * Follow the same naming convention as query parameters in our API
   * Common filter fields include:
     * `A` - Asset (e.g., BTC, ETH)
     * `NETWORK` - Network
     * Additional filters vary by metric
3. **Value Fields**
   * Contain the actual metric measurements
   * Always prefixed with `V_` for metrics with multiple values
   * Single-value metrics use just `V` (without underscore)
   * Type: Typically `Number`

#### Example

The metric `/addresses/active_count` with 1-month resolution is stored in table `ADDRESSES__ACTIVE_COUNT_1MONTH`:

| Name      | Type      | Description                              |
| --------- | --------- | ---------------------------------------- |
| TIMESTAMP | Timestamp | Time of the data point                   |
| A         | Varchar   | Asset (filter field)                     |
| V         | Number    | Number of active addresses (value field) |

#### Latency

There is an approximate delay of about 1 hour compared to our API.

{% hint style="info" %}
**Ready to get started?** [Contact our team](https://glassnode.com/contact-sales) to learn more about accessing our Snowflake listings.
{% endhint %}
